
Knee pain while hiking affects thousands of walkers across Ireland’s mountains and trails each year. Pat Falvey Irish & Worldwide Adventures provides expert guidance on preventing and managing knee discomfort during hikes, drawing from 30 years of leading groups through challenging terrain. This guide covers footwear selection, equipment choices, strengthening exercises, and practical techniques to protect your knees on every hike.
Understanding Knee Pain While Hiking
Knee pain while hiking occurs when the joints experience excessive stress during ascents and descents. The knees absorb impact forces equivalent to three to five times your body weight during downhill walking. Pat Falvey has observed thousands of hikers over three decades and identifies poor preparation and inadequate equipment as the primary causes of knee discomfort on trails.
The patella, meniscus, and surrounding ligaments work together to stabilise your knee during hiking. Downhill sections place the greatest strain on these structures, particularly on steep descents like those found on Carrauntoohil in County Kerry. Understanding how your knees function during different hiking movements helps you protect them effectively.
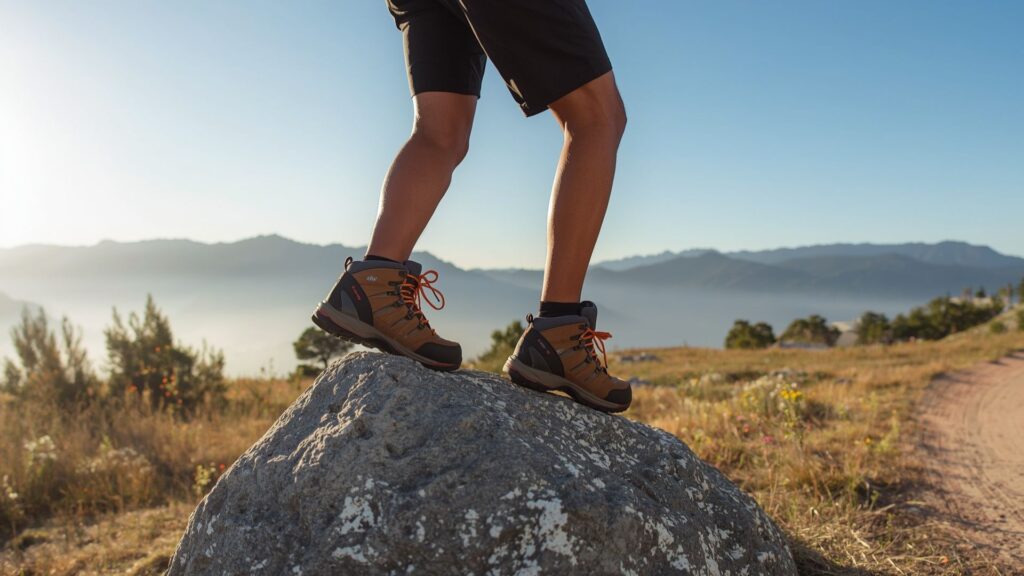
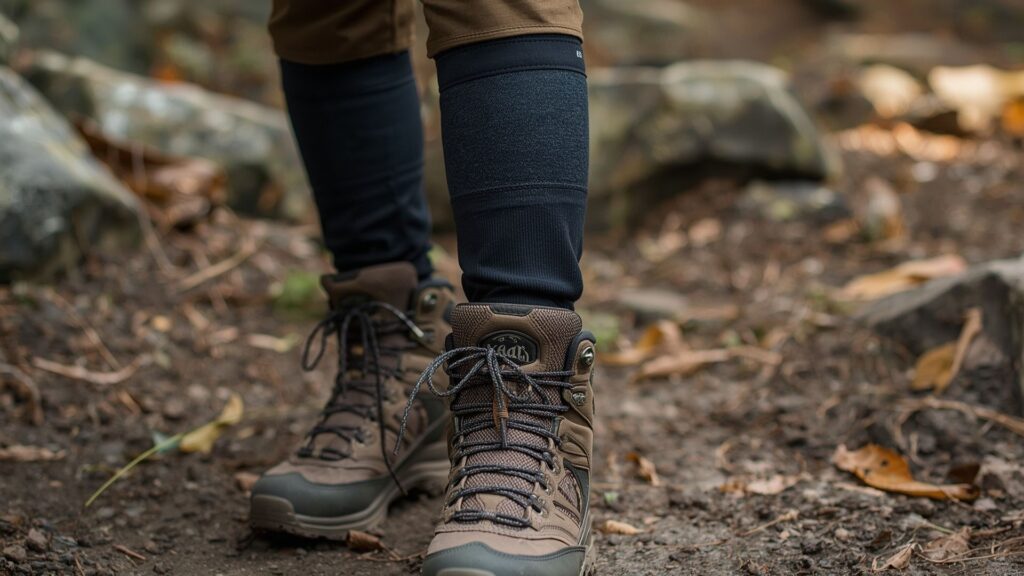
Choose the Right Hiking Boots

Proper footwear selection directly impacts knee pain while hiking on every trail. Pat Falvey recommends boots with substantial cushioning in the midsole to absorb impact forces before they reach your knees. The midsole material, typically EVA foam or polyurethane, compresses with each step to reduce shock transmission through your legs.
Boot fit matters as much as cushioning for preventing knee pain while hiking. Boots that are too tight restrict blood flow and create pressure points. Boots that are too loose allow your foot to slide forward on descents, forcing your toes to grip and altering your natural gait. This altered movement pattern transfers additional stress to your knees.
Break in new hiking boots gradually over 20 to 30 kilometres before attempting longer hikes. Wear them around town, on short walks, and during easy trails. Mid-height boots provide moderate support suitable for most Irish hill walking. Full leather boots offer maximum stability for rough terrain and heavy pack weights.
Replace hiking boots every 800 to 1,200 kilometres of use. The cushioning compresses permanently over time, losing its shock-absorbing properties. Worn tread patterns reduce grip, forcing you to adjust your stride on slippery surfaces.
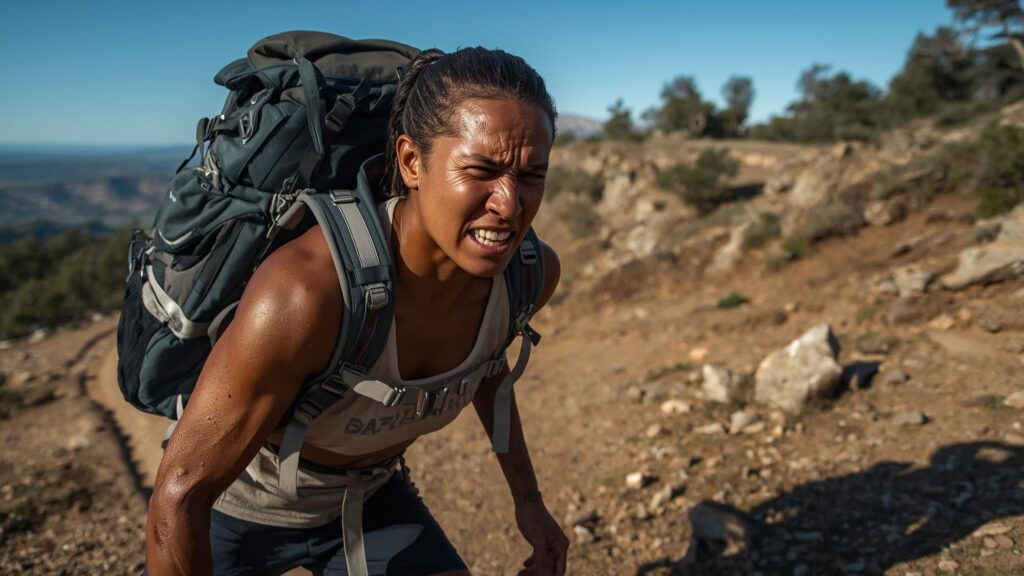
Reduce Your Pack Weight
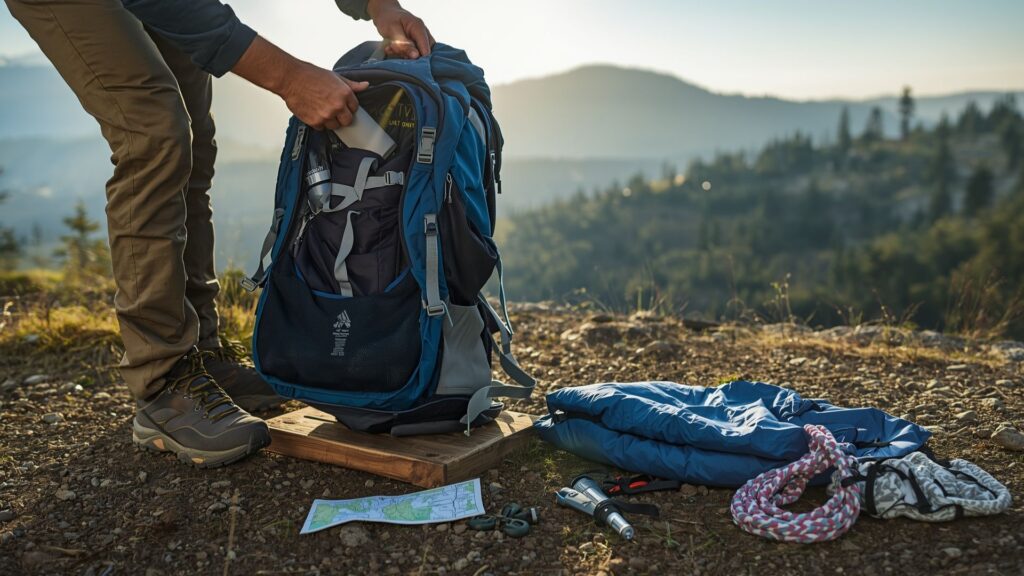
Pack weight multiplies the forces acting on your knees during hiking. Each kilogramme you carry adds approximately five kilogrammes of force to your knees during downhill sections. Pat Falvey teaches hikers to critically assess every item in their pack before departure to minimise knee pain while hiking.
Base weight, excluding food and water, should not exceed 10% of your body weight for day hikes. Overnight trips may require 15% to 20% of body weight, though experienced hikers often manage with less. Weigh your pack before each hike to maintain awareness of the load your knees must support.
Conduct a pack shakedown before longer hikes. Empty your entire pack and examine each item individually. Ask yourself whether you have used this item on your last three hikes. Remove anything that fails this test. Common unnecessary items include duplicate tools, excess clothing layers, and oversized first aid kits.
Lightweight alternatives exist for most hiking equipment. Modern materials allow manufacturers to produce gear that weighs half as much as older equivalents whilst maintaining durability. Food and water contribute significantly to pack weight. Plan water resupply points along Irish trails rather than carrying full requirements from the start during treks like Kilimanjaro expeditions.
Use Hiking Poles Correctly
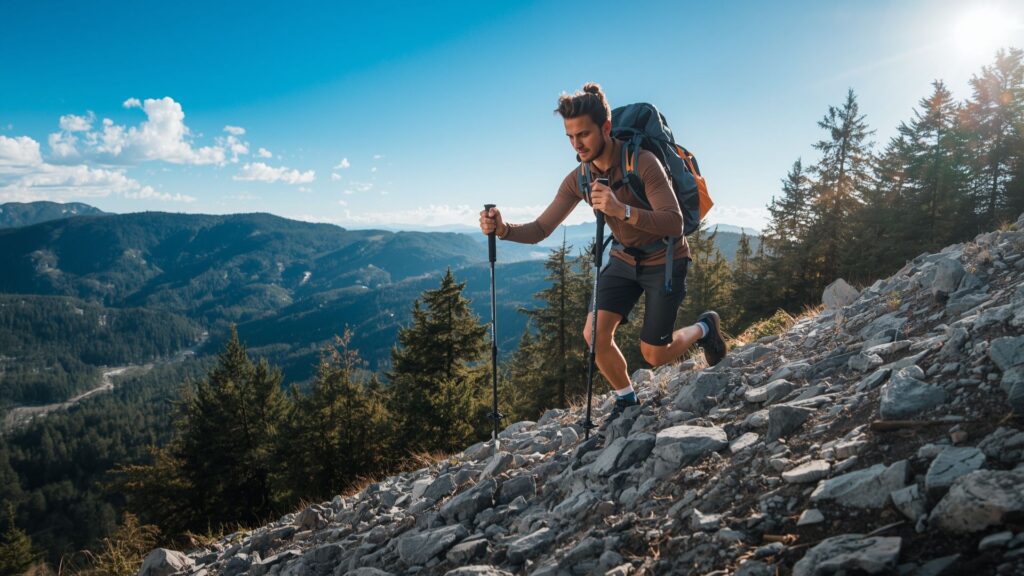
Hiking poles reduce knee pain while hiking by redistributing impact forces to your arms and shoulders. Studies demonstrate that poles decrease knee loading by up to 25% on descents. Pat Falvey considers poles the single most effective tool for protecting knees during mountain walking.
Pole length affects their effectiveness at preventing knee pain while hiking. Adjust poles so your elbow forms a 90-degree angle when the tip rests on the ground beside your foot. Shorten poles by 5 to 10 centimetres for uphill sections. Lengthen poles by the same amount for descents to keep your arms in the optimal position.
Plant poles ahead of your leading foot on descents. The poles absorb impact before your leg bears full body weight. This technique proves most valuable on steep sections where knee loading reaches its maximum. Develop a rhythm where pole plants and foot strikes occur in smooth alternation.
Two-pole technique surpasses single-pole use for knee protection. Dual poles provide balanced support and prevent the asymmetric loading that single-pole users experience. The balanced distribution protects both knees equally and maintains proper spinal alignment throughout your hike on trails like Everest Base Camp.
Strengthen Your Leg Muscles
Muscle strength directly correlates with reduced knee pain while hiking on all terrain types. Strong quadriceps stabilise the patella and control downhill movement. Developed hamstrings balance the forces acting on your knee joint. Pat Falvey recommends specific exercises performed three times weekly for optimal knee protection.
Squats build overall leg strength essential for hiking. Stand with feet shoulder-width apart. Lower your body until your thighs reach parallel with the ground. Complete three sets of 12 to 15 repetitions. Keep your knees aligned over your toes throughout the movement.
Step-ups replicate hiking movement patterns and reduce knee pain while hiking. Use a bench or sturdy box 30 to 40 centimetres high. Step up with your right foot, bringing your left foot to meet it. Complete 12 repetitions per leg for three sets. This exercise strengthens the muscles used during ascents on Irish peaks.
Single-leg balance exercises improve the stabilising muscles around your knees. Stand on one foot for 30 to 60 seconds. Progress to standing on an unstable surface like a folded towel. These muscles activate constantly during uneven trail navigation, and strengthening them reduces knee strain significantly.
Lunges develop the muscles used during large steps and steep descents. Step forward with your right foot. Lower your body until both knees form 90-degree angles. Push back to starting position. Alternate legs for 10 repetitions per side across three sets.
Master Downhill Hiking Technique
Hiking technique influences knee pain while hiking as much as equipment choices do. Proper downhill form distributes forces across multiple joints rather than concentrating stress on your knees alone. Pat Falvey teaches these techniques to all groups before attempting steep descents.
Take shorter steps on downhill sections to minimise knee pain while hiking. Short steps reduce the vertical distance your body drops with each stride, decreasing impact forces on your knees. Land with your foot flat or slightly heel-first rather than striking hard on your heel. A flatter foot position activates your calf muscles to absorb impact.
Bend your knees slightly throughout the descent rather than locking them straight. Locked knees force the joint to absorb all impact forces directly through bone and cartilage. Bent knees engage muscles to dissipate these forces gradually.
Sidestep on very steep sections rather than walking straight down. Face sideways to the slope and step across rather than down. This technique reduces the vertical drop per step to nearly zero. Zigzag down slopes when possible rather than taking the fall line directly. The longer diagonal path reduces gradient, which translates to gentler forces on your knees in locations like The Mountain Lodge surroundings.
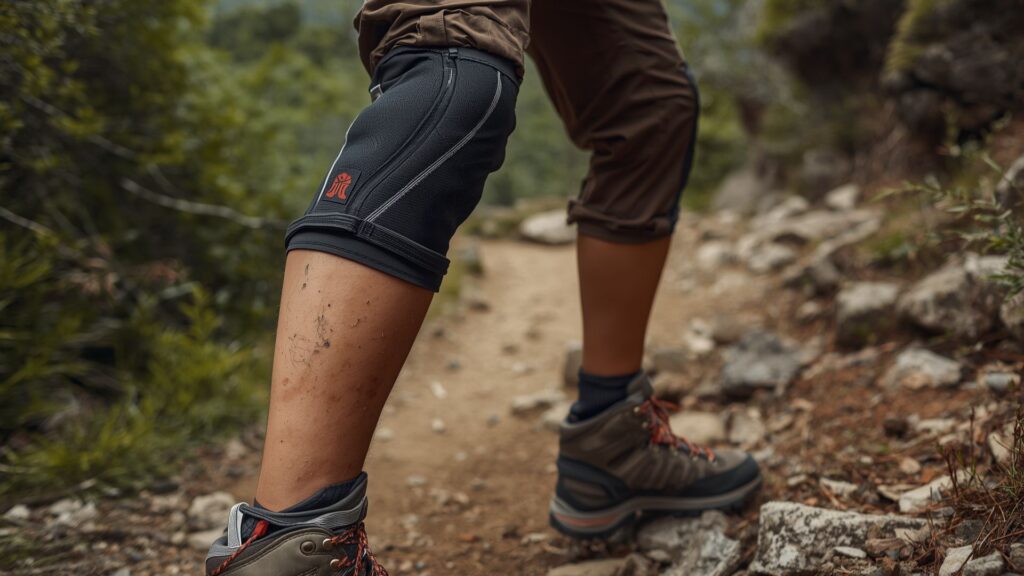
Wear Knee Braces When Necessary
Knee braces provide external support for joints weakened by previous injuries or chronic conditions. Pat Falvey has observed that braces help some hikers manage existing knee problems but do not substitute for proper technique and conditioning.
Compression sleeves offer mild support and improve proprioception, your body’s awareness of joint position. The compression increases blood flow and provides warmth that can reduce stiffness. These sleeves suit hikers with minor knee discomfort or those seeking preventive support against knee pain while hiking.
Hinged braces deliver substantial support for unstable knees. Metal or rigid plastic hinges on either side of the joint limit sideways movement whilst allowing normal forward and backward motion. Hikers recovering from ligament injuries benefit most from this brace style.
Patellar stabilisers focus support on the kneecap area. A strap or pad sits below the kneecap to alter the tracking of the patella during leg movement. Select braces designed for athletic activity rather than general wear. Athletic braces use moisture-wicking materials that prevent skin irritation during long hikes.
Training for Mountain Adventures
Preparing your body for demanding hikes prevents knee pain while hiking on major expeditions. Pat Falvey provides specific training guidance for clients preparing for international mountain adventures like Annapurna Base Camp. The preparation period typically spans 12 to 16 weeks before departure.
Cardiovascular fitness forms the foundation of mountain hiking ability. Build aerobic capacity through activities like running, cycling, or swimming performed three to four times weekly. Aim for sessions lasting 45 to 60 minutes at moderate intensity. Strong cardiovascular fitness reduces fatigue, which helps maintain proper hiking form throughout long days.
Weighted training simulates the pack loads carried on multi-day treks. Start with 5 kilogrammes in your pack and gradually increase to match your expected expedition load. Perform training hikes wearing this weighted pack to condition your legs and knees.
Hill repeats develop the specific strength required for steep ascents and descents. Find a hill requiring 10 to 15 minutes to climb. Hike up at a steady pace, then descend carefully using proper technique. Repeat this circuit three to five times. This training builds the muscular endurance that protects your knees during extended mountain days with Pat Falvey’s speaker services.
FAQs
Knee pain while hiking does not always signal serious injury. Mild discomfort often results from muscle fatigue or minor inflammation. Rest for several days and resume hiking gradually. Seek medical evaluation if pain persists beyond one week.
Mild soreness requires one to three days of rest. Moderate pain needs three to seven days without hiking. Severe pain demands at least seven days rest plus medical consultation.
Continue if pain remains mild and does not worsen. Stop immediately if pain intensifies, becomes sharp, or causes limping. Never take medication to mask pain and continue hiking.
Boots with substantial EVA foam or polyurethane midsoles best prevent knee pain while hiking. Mid-height boots suit most Irish hill walking. Replace boots every 800 to 1,200 kilometres.
Two hiking poles provide superior knee protection. Dual poles distribute impact forces evenly across both arms and legs. Adjust pole length so your elbow forms a 90-degree angle.