
Fitting your backpack properly transforms uncomfortable treks into enjoyable mountain adventures. Pat Falvey Irish & Worldwide Adventures has guided over 2,000 hikers across Ireland’s peaks with 30 years of mountain expertise. This guide covers torso measurement, pack sizing, strap adjustment techniques, and trail maintenance tips for Carrauntoohil, Kilimanjaro, and other challenging climbs.
Fitting your backpack starts with selecting the right pack for your body. A pack that’s too large or too small never feels comfortable, regardless of adjustment attempts. Understanding the critical factors when buying a new backpack prevents discomfort and potential injury on challenging routes like guided Carrauntoohil hikes.
The only characteristic determining proper backpack fit is torso length, not overall height. Measuring your torso length accurately ensures you select the correct pack size before any strap adjustments begin.
Measuring Your Torso Length for Proper Pack Fit
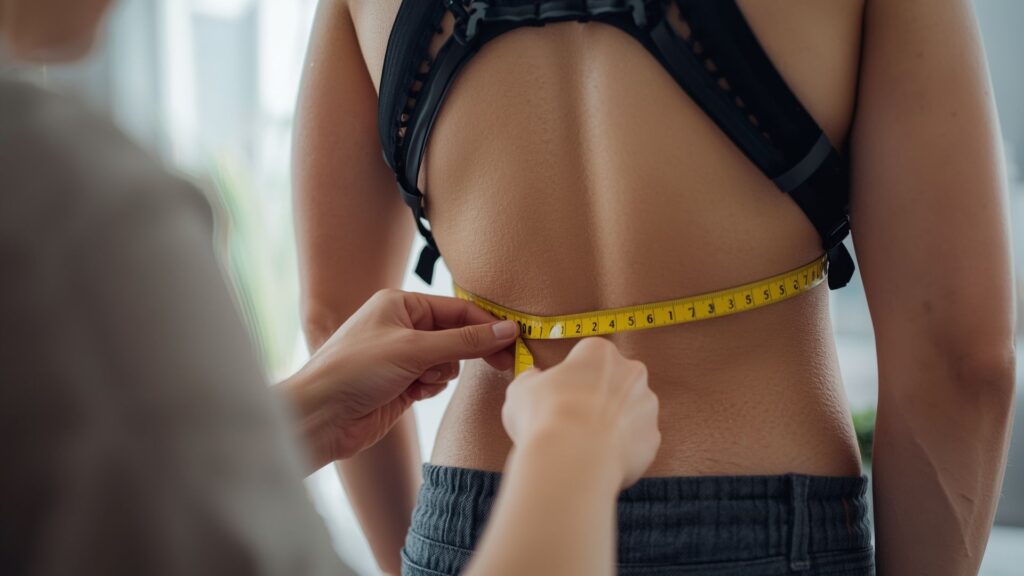
Measuring torso length takes five minutes with a flexible tape measure and a friend’s assistance. This measurement determines which backpack size provides the foundation for fitting your backpack correctly.
Locate Your C7 Vertebra
Tilt your head forward and have your friend feel along the base of your neck for a bony bump. This prominent vertebra marks the top of your torso length. The C7 vertebra serves as the anchor point for all backpack measurements.
Find Your Iliac Crest
Place your hands comfortably on your hips. Your thumbs naturally rest on the iliac crest, the top of your hip bones on your back. This point marks the bottom of your torso measurement.
Measure the Distance
Have your friend measure the straight-line distance between these two points. This figure represents your torso length and determines your backpack size category.
Backpack Size Categories and Torso Measurements
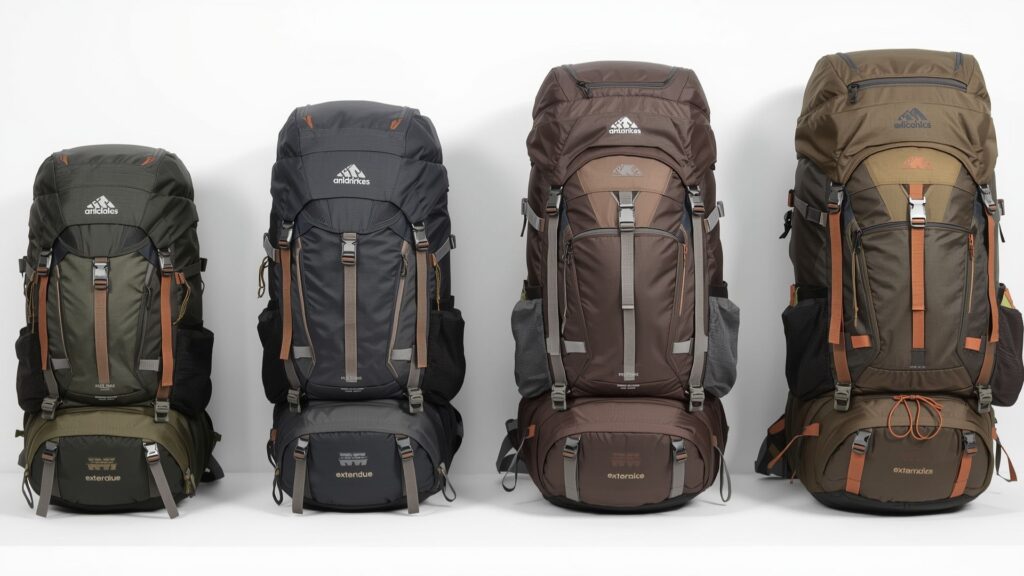
Modern hiking backpacks include recommended torso length ranges. Pat Falvey’s mountain guides use these standard measurements when fitting clients for Everest Base Camp treks and Irish mountain adventures.
Extra Small Packs: Up to 39 Centimetres
Extra small packs suit younger hikers or adults with shorter torsos. These packs typically carry 30-50 litres of gear.
Small Packs: 41-44 Centimetres
Small packs accommodate most women and some men. This size works well for weekend hiking trips and day climbs.
Medium/Regular Packs: 46-50 Centimetres
Medium packs fit the majority of adult hikers. This category offers the widest selection of models and features for Kilimanjaro expeditions and multi-day treks.
Large/Tall Packs: 51 Centimetres and Above
Large packs suit taller individuals with longer torsos. These packs often include extended frame options for heavy loads on expeditions.
When your measurement falls between sizes, many backpacks feature adjustable shoulder harnesses that reposition to accommodate your torso length. Trying packs in a store allows you to verify the shoulder harness position matches your body before purchase.
Fitting Your Backpack: The Complete Adjustment Process
Fitting your backpack properly after purchase requires systematic strap adjustment in a specific order. Following these steps in sequence ensures each adjustment builds on the previous one, creating a secure, comfortable carry system for your mountain adventures.
Adding Weight Before Adjustment
Load your backpack with weight approximating what you’ll carry on actual hikes. Water bottles, clothing, shoes, or any household items work for this fitting process. The closer you match your expected trail weight, the more accurate your fitting becomes. Aim for 8-12 kilograms for day hikes or 15-20 kilograms for multi-day expeditions like those offered on Annapurna Base Camp treks.
Loosening All Straps and Belts
Before putting on your pack, loosen every adjustment point completely. This includes the hip belt, shoulder straps, load lifters, and sternum strap. Starting with loose straps allows you to tighten each component in the correct order during the fitting process.
Hoisting Your Pack
Lift your loaded backpack onto your back using proper technique. Bend at the knees, position the pack on one thigh, slip one arm through, then swing the pack around and insert the other arm. This method prevents back strain when fitting your backpack with substantial weight.
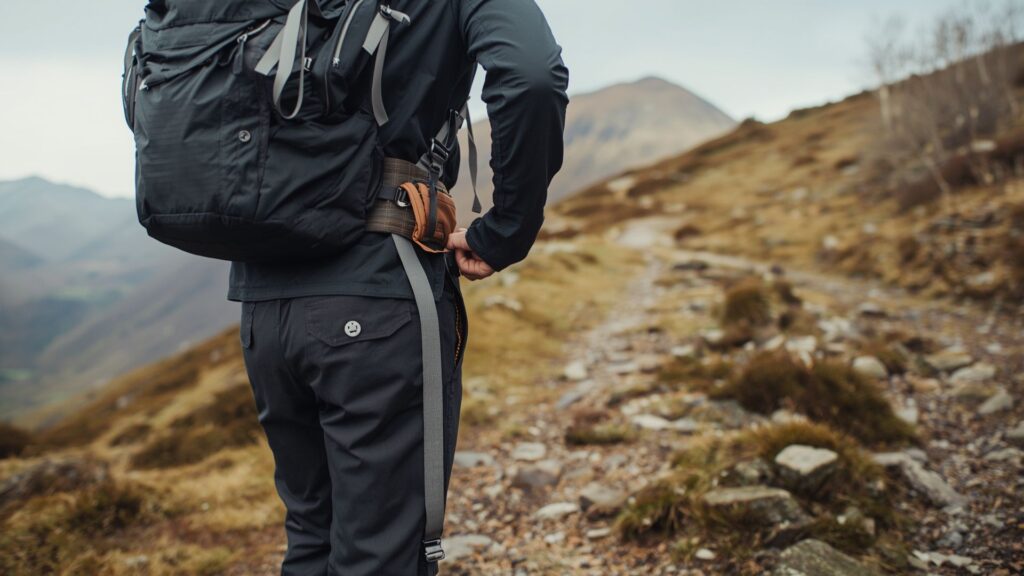
Hip Belt Adjustment: The Foundation of Pack Fit
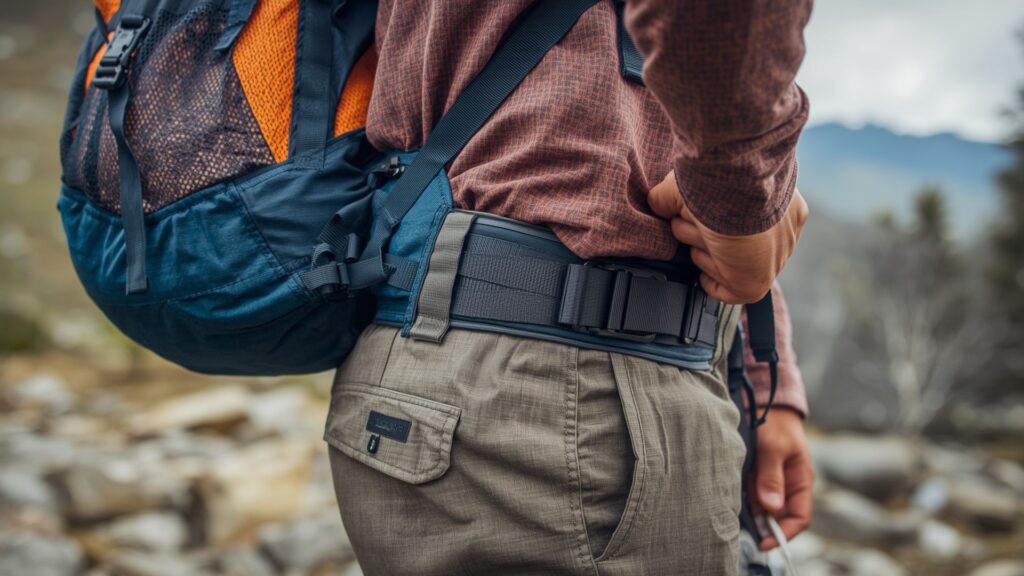
The hip belt carries 80% of your backpack’s weight when adjusted correctly. Pat Falvey’s guides emphasise hip belt positioning as the most critical element of fitting your backpack for challenging climbs.
Fasten the hip belt so the padded portion sits directly on top of your hip bones, not above or below them. The belt should wrap around your iliac crest with even pressure. Pull the belt snug but not overly tight. You should fit two fingers between the belt and your body comfortably.
When adjusted properly, you feel your hips supporting most of the pack’s weight. Your legs carry the load through your hip bones, not your shoulders. This weight distribution prevents shoulder fatigue on long ascents like Carrauntoohil’s Devil’s Ladder route.
Test the adjustment by walking around. The belt should remain stable without sliding up or down. If it shifts, tighten slightly and retest. Avoid overtightening, which restricts breathing and causes chafing on extended hikes.
Shoulder Strap Adjustment Techniques
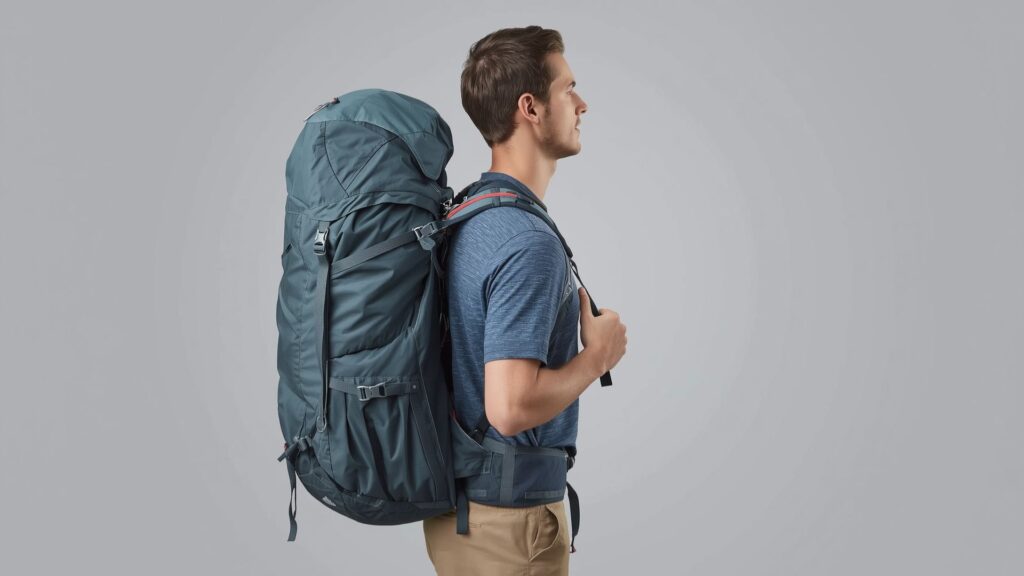
After securing the hip belt, tighten the shoulder straps by pulling down on the adjustment tabs. Pull both straps equally until they wrap snugly around your shoulders without gaps.
The shoulder straps should touch your shoulders and upper back continuously from top to bottom. Gaps between the straps and your body indicate improper shoulder harness positioning or incorrect pack size. When fitting your backpack correctly, the straps follow your shoulder contours smoothly.
The load lifter anchor points should align level with your collarbones when viewed from the side. If these anchor points sit higher than collarbone level, your pack is too large. If they sit at chest level or below, your pack is too small.
Your shoulders should feel minimal weight at this stage. If you feel downward pressure on your shoulders, your hip belt isn’t tight enough. Return to the hip belt adjustment and tighten it further.
Load Lifter Straps: The 45-Degree Rule
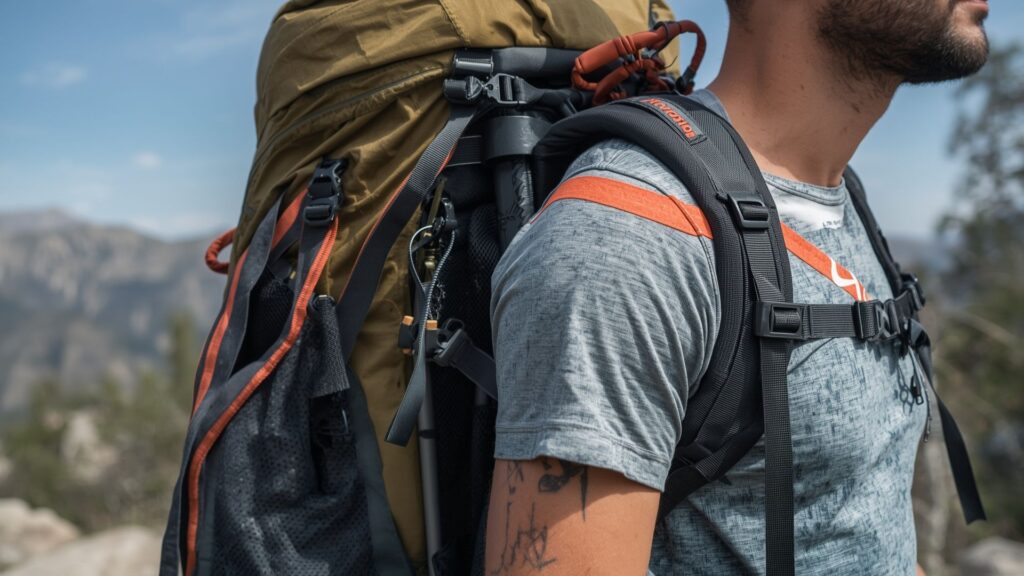
Load lifters are short straps connecting the top of your shoulder straps to the backpack frame above shoulder level. These straps control how the pack sits against your back and distributes weight.
Tighten the load lifters until they form a 45-degree angle with the pack’s back panel. This angle pulls the top of the pack toward your body, improving balance and stability on uneven terrain like the MacGillycuddy’s Reeks.
Angles less than 30 degrees or greater than 60 degrees indicate sizing problems. A too-steep angle means your pack is too short for your torso. A too-shallow angle means your pack is too long.
Avoid overtightening load lifters. Excessive tension creates downward pressure on your shoulder joints, causing discomfort during long treks. Gentle tension that maintains the 45-degree angle provides optimal load distribution.
Sternum Strap Placement and Adjustment
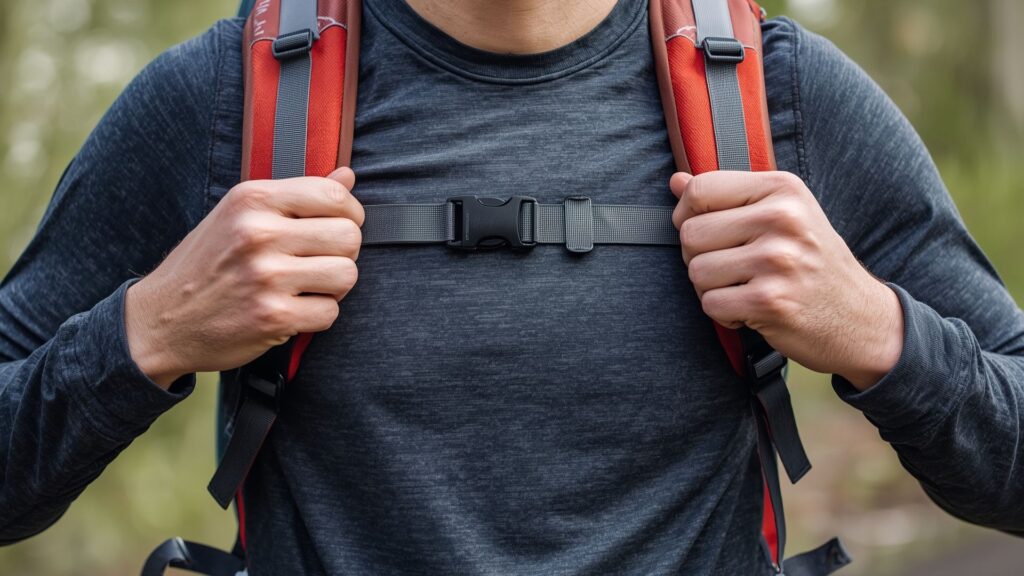
The sternum strap crosses your chest, connecting the left and right shoulder straps. This strap provides stability, keeps shoulder straps positioned correctly, and helps distribute weight across your upper body.
Position the sternum strap about 5 centimetres below your collarbone. This placement allows comfortable breathing while preventing the shoulder straps from sliding off your shoulders on steep terrain.
Fasten the sternum strap with moderate tension. You should breathe deeply without restriction. The strap prevents shoulder strap movement without compressing your chest. During Salkantay and Machu Picchu expeditions or other high-altitude treks, proper sternum strap adjustment becomes crucial for maintaining breathing efficiency.
On-Trail Adjustments and Pack Maintenance
Fitting your backpack perfectly at home provides a starting point, but trail conditions demand ongoing adjustments. Temperature changes, terrain variations, and fatigue alter how your pack feels during extended hikes through Kerry’s mountains or international expeditions.
During Your Hike
Check your hip belt tension every hour. As you warm up and clothing layers compress, the belt may loosen slightly. Retighten the belt to maintain proper weight distribution on your hips.
Adjust shoulder straps when transitioning between steep climbs and flat sections. Steep ascents benefit from slightly looser shoulder straps, allowing your hips to carry more weight. Level walking sometimes feels better with marginally tighter shoulder straps for improved balance.
Loosen the hip belt temporarily during breaks longer than 10 minutes. This allows blood circulation to return to compressed areas and prevents numbness in your hips.
Body Position and Posture
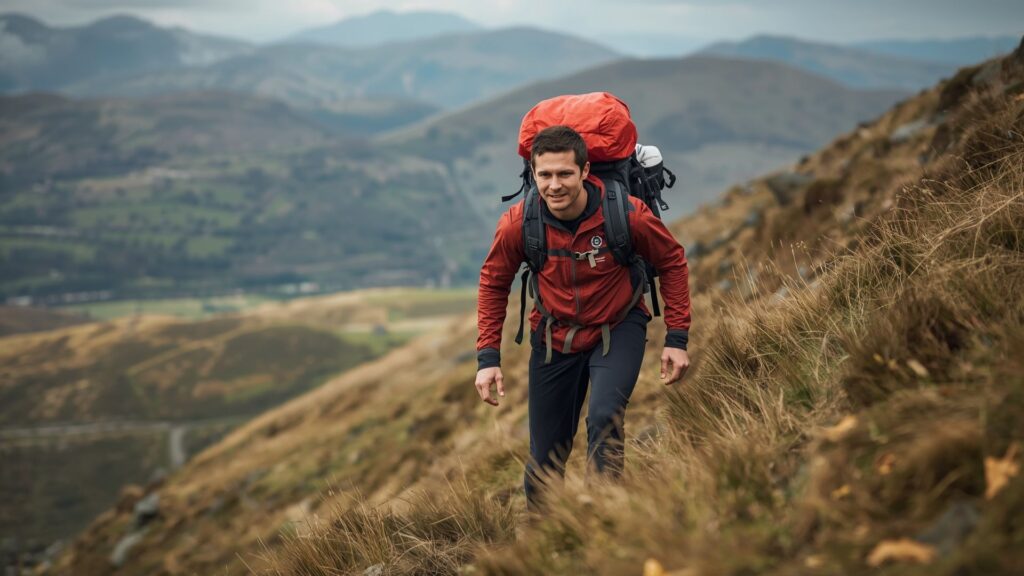
Lean slightly forward from your hips when hiking uphill. This forward lean aligns your centre of gravity over your feet and balances your pack’s weight naturally. The Mountain Lodge instructors teach this technique to all clients before major climbs.
Keep your core engaged during descents. Tightening your abdominal muscles stabilises your pack and reduces lower back strain on steep downhill sections.
Rest Break Protocol
Remove your backpack completely during every rest stop. Even 5-minute breaks provide relief for your back and shoulders. Set your pack on a rock or log rather than the ground to prevent moisture absorption and make re-shouldering easier.
Stretch your shoulders, neck, and hips during breaks. These areas bear constant tension during hiking and benefit from brief movement.
Common Fitting Problems and Solutions
Even experienced hikers encounter fitting challenges when breaking in new packs or tackling unfamiliar terrain. Pat Falvey’s guides have identified recurring fitting issues across thousands of mountain adventures.
Shoulder Pain Despite Proper Hip Belt Adjustment
Shoulder pain despite a tight hip belt suggests your pack may be too heavy for its frame capacity. Consider redistributing weight or leaving non-essential items behind. The issue may also indicate weak shoulder muscles requiring training before attempting challenging routes like Island Peak and EBC climbs.
Hip Belt Sliding Down
Hip belts slide down when positioned too high on your waist rather than on your hip bones. Adjust the belt lower and tighten firmly. Some belts also slide due to inadequate padding. Consider a pack with better hip belt construction for serious mountaineering.
Pack Pulling Backward
A pack pulling you backward indicates the load sits too far from your back. Tighten the load lifters and ensure heavy items pack close to your back panel. Weight positioned away from your spine creates leverage that pulls you off-balance.
Pressure Points on Lower Back
Pressure points suggest the hip belt sits incorrectly or the pack’s frame length doesn’t match your torso. Try adjusting the shoulder harness position if your pack includes this feature. Persistent pressure points require a different pack size.
Choosing the Right Pack Size for Your Adventure Type
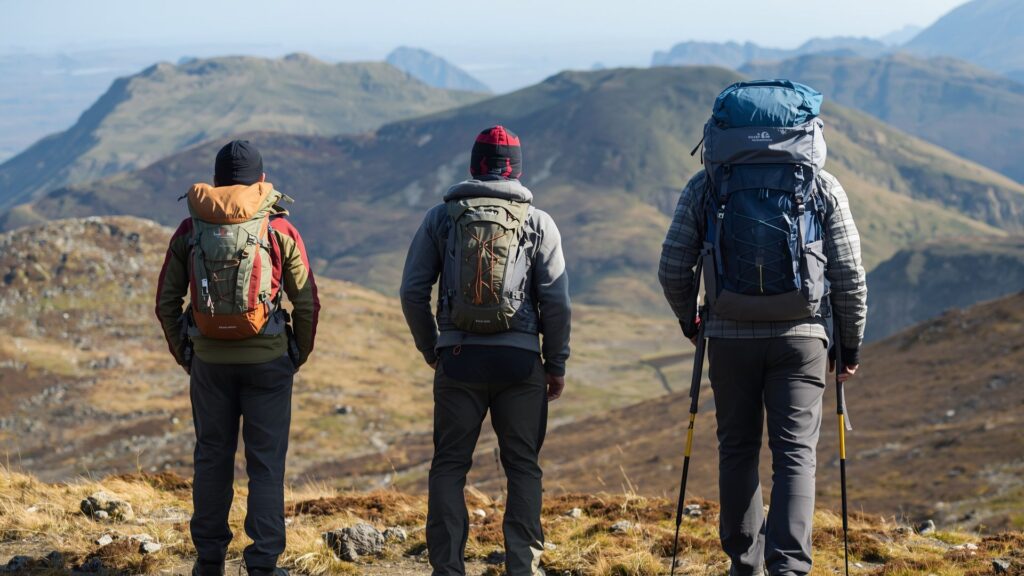
Different expeditions require different pack capacities beyond torso fit. Understanding volume requirements prevents buying oversized packs that encourage overpacking or undersized packs that force external attachment of gear.
Day Hikes: 20-30 Litres
Day hikes on Carrauntoohil or local Kerry trails require packs holding water, food, spare clothing, and emergency supplies. Packs in this range provide sufficient capacity without unnecessary weight.
Weekend Trips: 40-50 Litres
Weekend camping trips or hut-based treks like sections of the Camino de Santiago suit mid-size packs. These carry sleeping bags, clothing changes, and cooking equipment comfortably.
Multi-Day Expeditions: 60-75 Litres
Extended treks including Kilimanjaro climbs or Mount Toubkal expeditions require larger packs. These accommodate camping gear, multiple clothing layers, and adequate food supplies for remote environments.
Extreme Expeditions: 80 Litres and Above
High-altitude mountaineering on Aconcagua or technical climbs demands maximum capacity packs. These carry specialised equipment including ropes, crampons, ice axes, and extreme cold weather gear.
Preparing Your Pack for Different Conditions
Fitting your backpack correctly involves more than strap adjustment. Pack organisation and weight distribution significantly affect comfort and performance on varied terrain.
Weight Distribution Principles
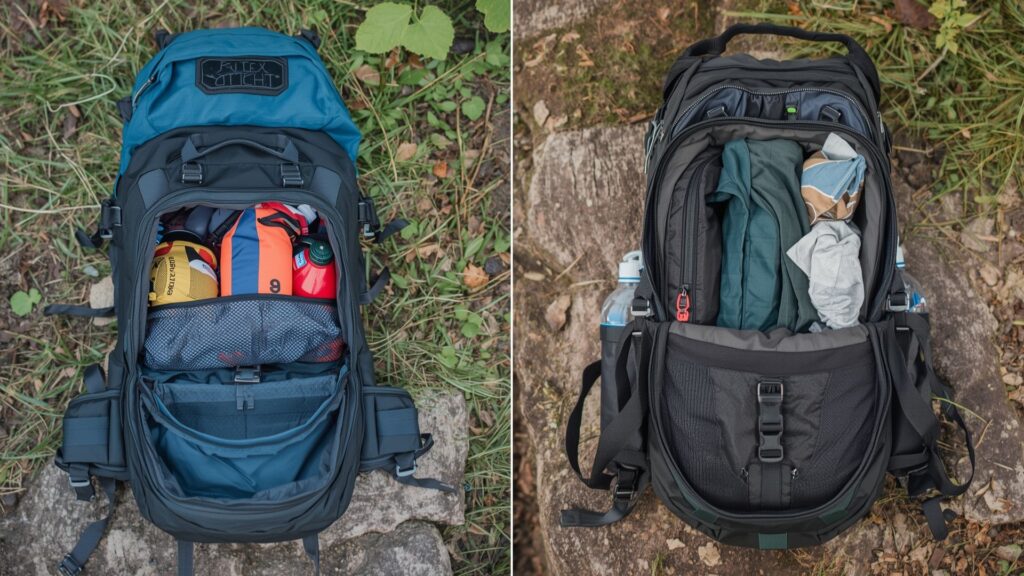
Pack heavy items close to your back and between your shoulder blades. This positioning keeps weight over your centre of gravity. Place medium-weight items around heavy items, filling gaps. Store light items and frequently accessed items in outer pockets.
Water represents one of the heaviest items hikers carry. Position water bladders or bottles against the back panel in the centre of the pack. This prevents water weight from pulling the pack backward.
Weather-Specific Packing
Cold weather expeditions require additional insulation layers stored accessibly. Pack your insulated jacket in the top compartment for quick access during breaks. Store wet weather gear in external pockets for rapid deployment when conditions change.
Hot weather hiking demands easier access to water and sun protection. Position water bottles in side pockets within reach while wearing your pack. Store sunscreen and hats in hip belt pockets.
Training with Your Pack Before Major Expeditions
Pat Falvey’s expedition leaders recommend training with your loaded pack before attempting serious climbs. This training period allows you to refine your fitting technique and build the specific muscles required for extended load carrying.
Break-In Period
Wear your new pack for 2-hour walks before attempting full-day hikes. This break-in period softens stiff padding and reveals any fitting issues in controlled conditions. Adjust straps between walks, making notes of what works best.
Progressive Loading
Start training with 50% of your expected expedition weight. Increase weight by 10% weekly until reaching full load. This progression builds strength gradually and prevents injury.
Terrain Practice
Train on terrain similar to your goal. Kilimanjaro training requires uphills with your loaded pack. Flat trail expeditions need distance training. Technical climbs benefit from scrambling practice while wearing your pack.
Practice 4-6 hour walks with full expedition weight for at least 4 weeks before departure. This duration matches typical summit day efforts on major peaks and builds the endurance required for success.