
Using a compass represents one of the essential skills every hiker develops before tackling Ireland’s mountain ranges or international expeditions. A map proves virtually useless without a compass to indicate where north lies. GPS devices for hiking offer convenience, but relying solely on electronic navigation creates risk. Batteries die, signals fail, and without understanding using a compass alongside topographic maps, hikers face potentially dangerous situations. Learning how to read a compass, combined with topographic map interpretation, ranks among the most crucial survival skills for outdoor enthusiasts.
The Basic Parts of a Compass
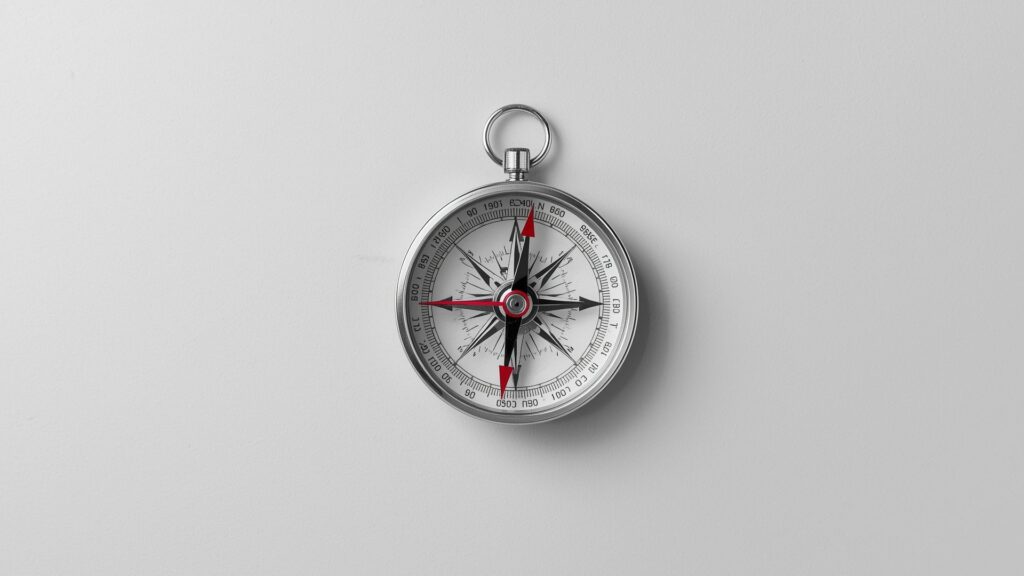
Modern compasses vary in design and features, but all share fundamental components that enable wilderness navigation. Understanding each part helps hikers master using a compass effectively across different terrains and conditions.
Compasses serve one primary purpose across all designs: allowing you to find north and navigate wilderness areas with precision. Although all compasses point north, manufacturers add various features and components to enhance functionality.
1. Magnetised Needle
The magnetised needle features a typically red-coloured end that always points to the magnetic north pole. This differs from true north, a distinction covered in detail later.
2. Rotating Bezel
The rotating bezel displays markings on its outer edge, called the azimuth ring. These markings range from 0° to 360° and include the four cardinal directions: north, east, south and west. This bezel rotates around the compass needle, allowing precise bearing measurements.
3. Baseplate
The baseplate consists of a transparent plate featuring several different markings and lines. Key features include the direction-of-travel arrow and a ruler for measuring distances on maps during route planning.
4. Orienting Lines and Arrow
Orienting lines appear as markings inside and underneath the compass housing. They rotate with the rotating bezel whilst the magnetised needle maintains its northward point. The orienting arrow sits in the middle of the orienting lines and the rotating bezel, aiming towards north on the azimuth ring.
How to Read a Compass
Reading a compass forms the foundation of wilderness navigation. Mastering this skill takes practice but follows straightforward principles that every hiker can learn.
Using a compass requires knowing one fundamental fact: one end of the needle always points north. The north-pointing end appears almost always in red, whilst the other part may be white, black or another colour.
Proper Compass Holding Technique
Hold the compass between waist and face height, close to your stomach. Your elbow should bend slightly, keeping your arm relaxed rather than rigid. This position provides stability whilst allowing clear sight of the needle and markings.
Ensure the baseplate remains level during use. The direction-of-travel arrow must point away from your body. Tilting the compass affects accuracy, particularly in areas with magnetic interference from rocks or metal objects.
Look down at the compass face and observe which direction the needle points. The red end indicates magnetic north. Cross-reference this with the degree markings on the azimuth ring to determine precise bearings.
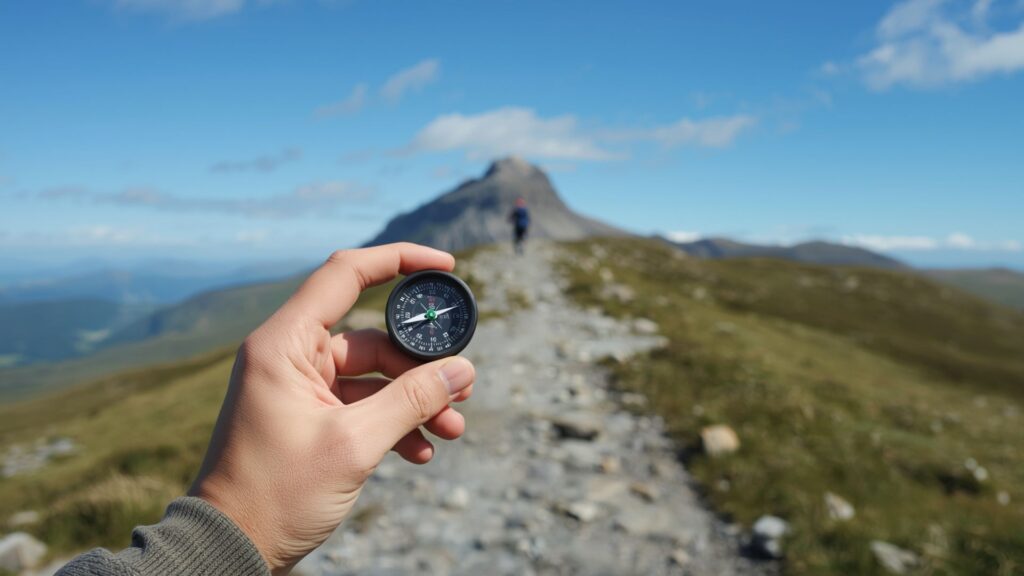
How to Use a Compass: 4 Steps to Follow
Using a compass effectively involves more than simply finding north. Hikers preparing for guided Carrauntoohil hikes or international expeditions need to master setting directions, orienting maps, and accounting for magnetic declination. These four steps provide the framework for competent compass navigation in any terrain.
Step 1: Find North
The compass performs one function independently: pointing north. You complete the rest. The red end of the needle always points to magnetic north, providing your baseline reference point. This represents the first and most natural step in using a compass for navigation.
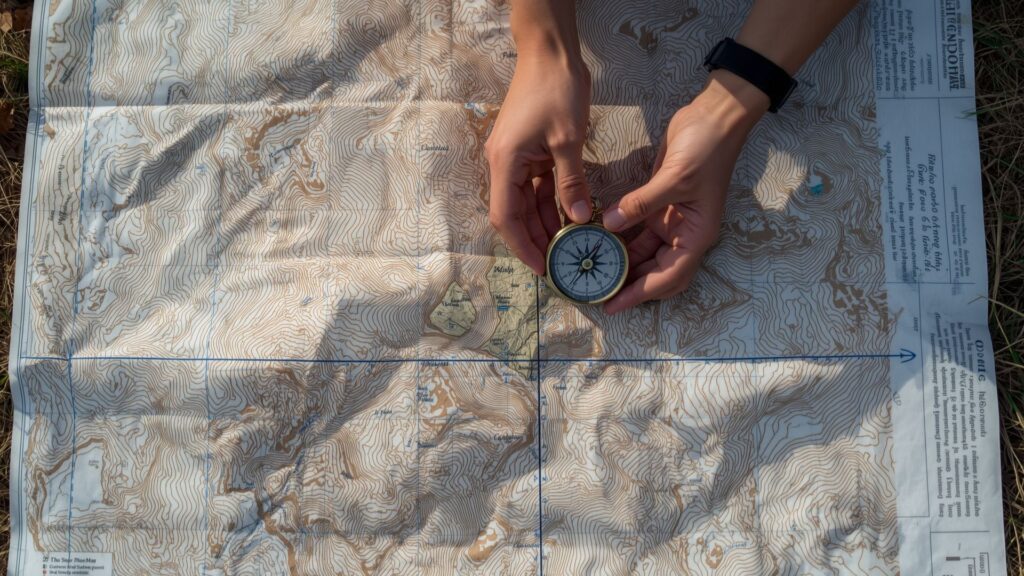
Step 2: Orient Your Map
Topographic maps orient towards north at the top edge. Aligning your compass with your map requires precision. First, align the orienting arrow on the rotating bezel with the direction-of-travel arrow on the baseplate.
Next, place your compass on your map so the orienting lines and arrow run parallel to the vertical, or north-south, lines on the topographic map. Keep your compass in place on the map, then turn your map until the magnetic needle overlays the orienting arrow. Your map now points north, properly oriented for navigation.
Step 3a: Set a Direction Without a Map
Situations arise where using a compass without a map becomes necessary. Hikers might need to navigate to a visible landmark or travel in a known direction without detailed cartography.
Point the direction-of-travel arrow toward the landmark you want to reach. Turn the rotating bezel so the orienting arrow overlaps with the magnetic needle, pointing north. Maintain alignment between the needle and orienting arrow, then follow the direction-of-travel arrow to your destination.
For eastward travel, turn the rotating bezel until the letter “E” or word “East” on the azimuth ring aligns with the direction-of-travel arrow on the baseplate. Then turn the compass so the magnetic needle overlaps with the orienting arrow. Keep the needle aligned with the orienting arrow at all times and follow the direction-of-travel arrow to maintain your course.
Step 3b: Set a Direction With a Map
Using a compass with a topographic map unlocks the full potential of wilderness navigation. This technique allows hikers to set routes to destinations or objects beyond visual range, essential for multi-day treks through Ireland’s mountains or international expeditions like Annapurna Base Camp.
Know where you stand on the map before plotting a course. If uncertain of your position, use a map, compass and two visible landmarks to triangulate your location through back-bearing techniques.
Find your destination on the map and visualise or draw a direct line between your position and your objective. Line up the edge of your compass baseplate with that line, ensuring the direction-of-travel arrow points toward your goal.
Rotate the rotating bezel until its orienting lines run parallel to the lines on your topographic map. Hold the compass in front of you until its magnetic needle aligns with the orienting arrow. You now face the direction of your objective. Keep the needle and orienting arrow aligned whilst following the direction-of-travel arrow to reach your destination.
Step 4: True North Versus Magnetic North
Understanding magnetic declination separates competent compass users from those who risk navigation errors of several kilometres. This knowledge proves particularly crucial for long-distance navigation on expeditions to Kilimanjaro or Everest Base Camp.
A compass needle always points to the magnetic north pole, which differs from true north. Topographic maps orient towards true north, creating a discrepancy that requires correction.
The angular difference between magnetic north and true north is called declination. Depending on your location globally, this difference reaches 15°, 20° or even more. Every topographic map includes a declination diagram, generally found in the lower right corner.
When using a compass and topographic map together, account for this difference through the degrees on the azimuth ring edge. Mark the declination degree with a marker or tape, or write it down to avoid forgetting this crucial correction.
Set your direction and align the compass needle with the orienting arrow, then apply the declination difference. As you navigate, ensure the needle points at true north rather than magnetic north. This correction prevents cumulative errors that compound over distance.
Advanced Compass Techniques for Mountain Navigation

Using a compass effectively requires more than basic skills when navigating Ireland’s mountain ranges or preparing for international expeditions. Pat Falvey Irish & Worldwide Adventures teaches advanced techniques to climbers before they attempt challenging terrain.
Back Bearings for Return Navigation
Back bearings allow hikers to retrace their route by reversing their original bearing. Add or subtract 180° from your original bearing to establish the return course. If travelling on a bearing of 45°, your back bearing equals 225°. This technique proves invaluable when weather deteriorates or visibility drops on mountains like Carrauntoohil.
Handrail Navigation
Handrail navigation involves following linear features such as ridges, rivers, or stone walls whilst using a compass to maintain general direction. This technique reduces the precision required whilst providing constant position confirmation through the physical feature.
Aiming Off Technique
Rather than aiming directly at a destination, deliberately aim to one side by 5-10°. Upon reaching the handrail feature, you know which direction to turn. This prevents the common error of reaching a linear feature and not knowing whether to turn left or right.
Taking a Bearing from the Map
Place the compass edge between your current position and destination on the map. Rotate the bezel until the orienting lines align with the map’s north-south grid lines. Read the bearing at the index line. This map-to-ground bearing transfers your planned route from paper to reality.
Dealing with Obstacles
When obstacles block your route, navigate around them whilst maintaining your overall bearing. Walk 90° from your bearing for a counted number of paces, bypass the obstacle, then walk 90° back to your original bearing for the same number of paces. This boxing technique returns you to your original course.
Essential Compass Skills for Different Terrains
Different environments demand adapted approaches to using a compass effectively. Pat Falvey’s 30 years guiding experience across diverse terrains informs these terrain-specific techniques.
Mountain Navigation
Mountain terrain presents unique challenges when using a compass. Steep slopes, rocky outcrops and frequent direction changes require regular bearing checks. On mountains like Carrauntoohil or during Aconcagua expeditions, take bearings every 100-200 metres rather than attempting longer straight-line navigation.
Magnetic rocks affect compass accuracy in certain mountain areas. Iron-rich rock formations deflect the needle, creating false readings. Take readings away from large boulders or rock faces, and verify bearings against visible landmarks when possible.
Forest and Dense Vegetation
Dense forest limits visibility to immediate surroundings, making using a compass essential rather than optional. Identify a distinct tree or feature on your bearing line, walk to it, then take another bearing to the next visible point. This leapfrog technique maintains accuracy through thick vegetation.
Desert and Open Terrain
Open terrain allows longer bearing legs but presents challenges with heat shimmer and lack of distinct features. Using a compass in deserts requires selecting distant points on the horizon and walking directly towards them. Verify your bearing every 500-1000 metres to prevent drift.
What to Bring on a Compass Navigation Hike
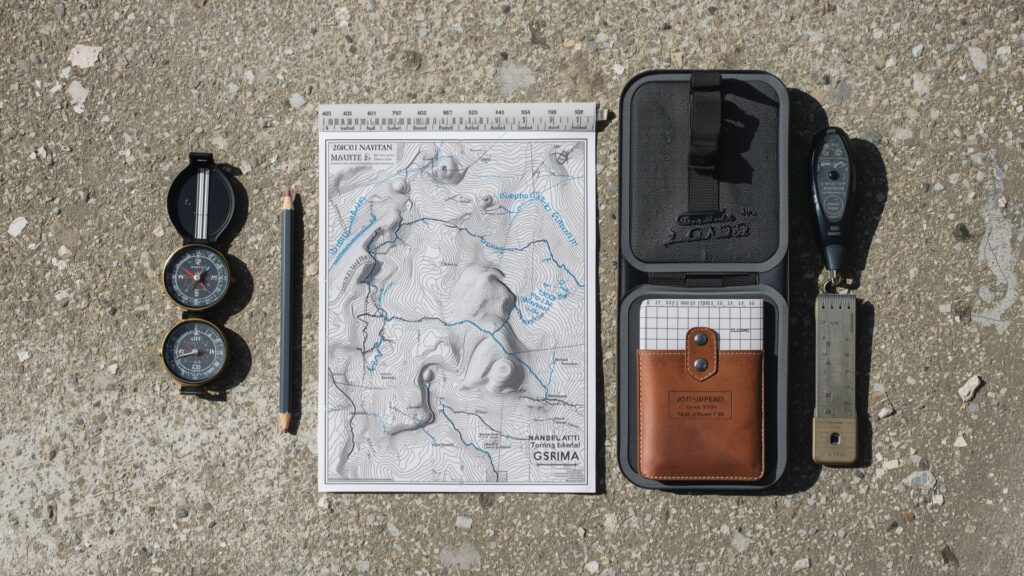
Proper equipment supports effective compass navigation across all terrains. Experienced guides at The Mountain Lodge recommend this essential kit for navigation-focused hikes.
Your primary compass should be a quality baseplate model with a rotating bezel and clear markings. Carry a backup compass, preferably a different style such as a button compass, in case your primary compass breaks or loses accuracy.
Topographic maps specific to your hiking area prove essential for using a compass effectively. Waterproof map cases protect maps from rain and allow you to mark routes without damaging the original. Scale rulers and map measurers help calculate distances when planning routes.
GPS devices complement rather than replace compass skills. Use GPS to confirm position or record waypoints, but never rely solely on electronic devices. Battery packs extend GPS life but cannot replace the reliability of using a compass for primary navigation.
Appropriate clothing matters as much as navigation tools. Waterproof gloves with touchscreen-compatible fingertips allow compass manipulation without exposing hands to harsh weather. Gift vouchers for navigation courses make excellent presents for hikers developing their compass skills before attempting challenging routes.