
Hiking poles reduce joint stress and improve balance on challenging terrain. Professional mountain leaders recommend proper pole technique to conserve energy on long treks. This guide covers pole adjustment, walking techniques, terrain-specific use, and maintenance for hikers tackling Ireland’s mountains and international expeditions.
Why Hiking Poles Transform Your Mountain Experience
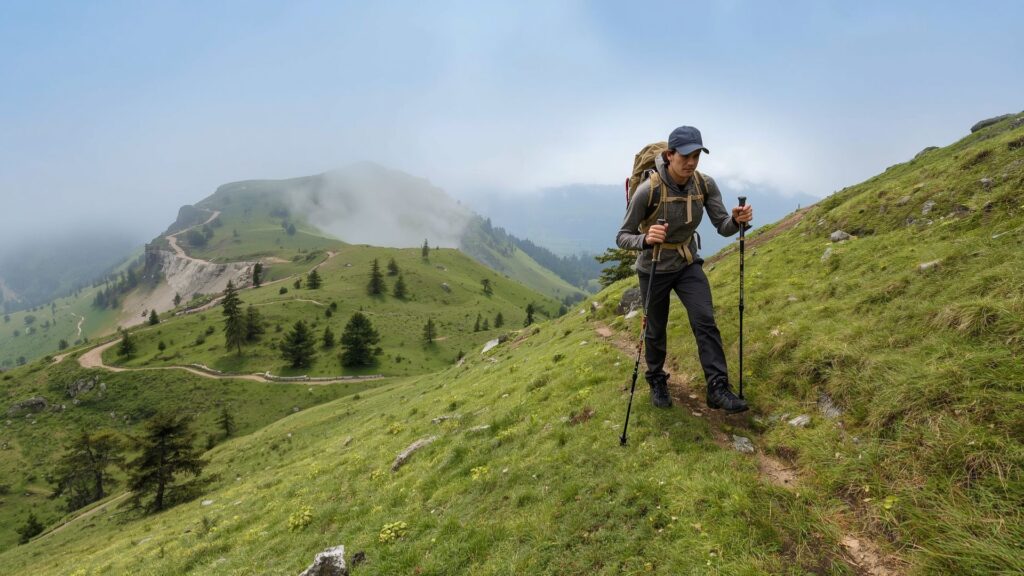
Hiking poles provide measurable benefits on mountain trails across Ireland and worldwide destinations. These tools reduce joint impact, improve stability, and extend hiking range on demanding routes like Carrauntoohil or international treks. Proper use of hiking poles can transform your mountain experience from exhausting to enjoyable.
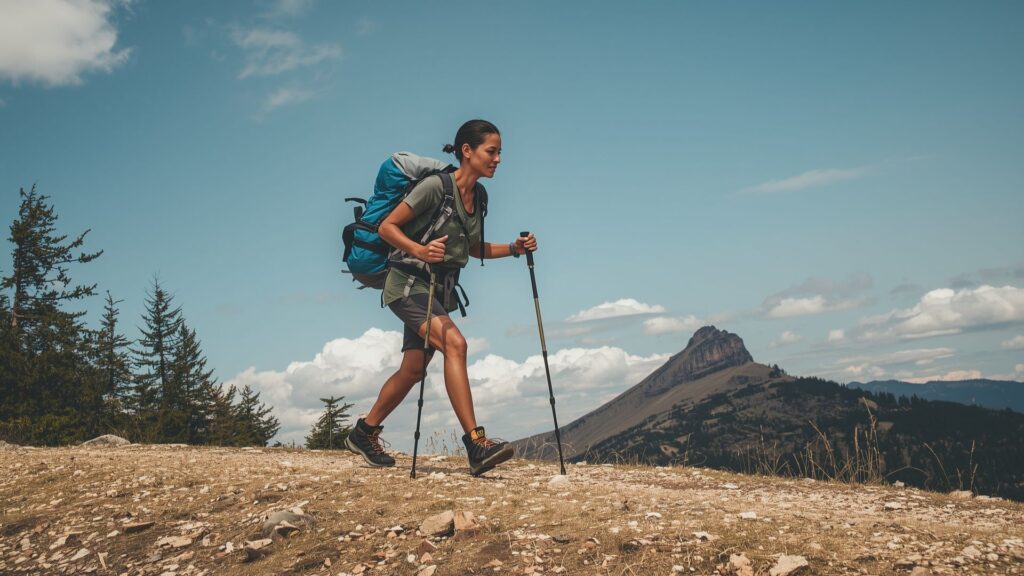
Moving Faster Uphill and on Flat Terrain
Trekking poles deliver propulsion benefits on ascending and level ground through upper body engagement.
Trekking poles help you move faster on flat ground and going uphill. The poles let you use your arms to push forward, giving your legs a break. Hikers cover greater distances since legs perform less work on extended routes like guided Carrauntoohil hikes.
Reducing Impact on Descents
Downhill sections create significant stress on lower body joints, particularly with pack weight.
Descending steep hills with tired legs or a heavy backpack places substantial stress on knees and ankles. Over a long hike through Kerry’s mountain ranges, that represents considerable pounding on joints. Leaning on walking poles during descents reduces wear and tear. Studies show poles can reduce joint stress by up to 25 percent on downhill terrain.
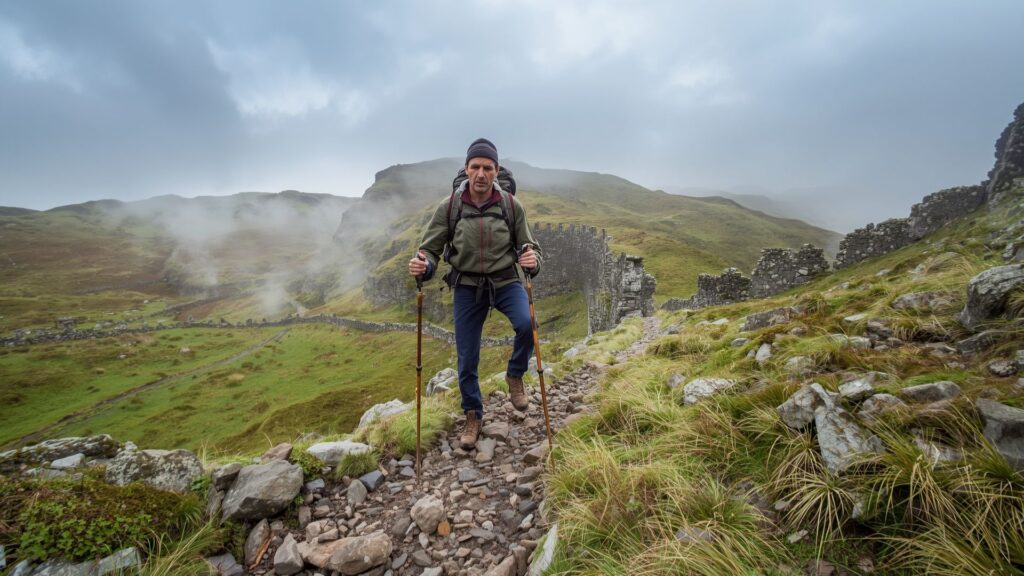
Maintaining Balance in Technical Terrain

Hiking poles function as stability extensions on complicated ground surfaces.
Trekking poles act like extendable arms helping you balance in complicated terrain. When trails become rocky or muddy, poles provide two additional contact points with the ground. If one foot slips, three remaining points keep you standing on challenging sections found on Kilimanjaro expeditions or technical Irish mountain routes.
Additional Uses Beyond Walking
Walking poles serve multiple functions during outdoor adventures beyond their primary purpose.
Hiking poles offer numerous practical applications on the trail. Poles clear stinging nettles and other obstacles from your path, serve as a monopod for photography, or substitute for tent pegs in soft ground. Experienced hikers also use poles to test water depth before crossing and to create emergency splints if needed.
Setting the Correct Height for Your Hiking Poles
Proper pole length adjustment prevents fatigue and maximises efficiency during mountain hiking.
Starting with the 90-Degree Position
Adjust poles to the correct length so the pole handle touches the floor when you grip above the basket with your elbow bent at 90 degrees.
Each hiker’s most comfortable height differs. Adjust yours until you find what works best for your body proportions and walking style. Most hiking poles feature three sections with two adjustable parts. Setting the top section at approximately two-thirds its height works well.
In snow conditions, remember the pole end will sink into the basket. Add several inches of length to compensate for this depth on winter routes across Irish mountains or destinations like Mount Toubkal.
Checking Lock Security
Lock verification prevents dangerous pole collapse during critical moments on steep terrain.
Check that locks are tight once you finish setting the height. Plant the pole and lean weight on it. The last thing hikers need on technical trails is pole collapse when support matters most on exposed sections or river crossings.
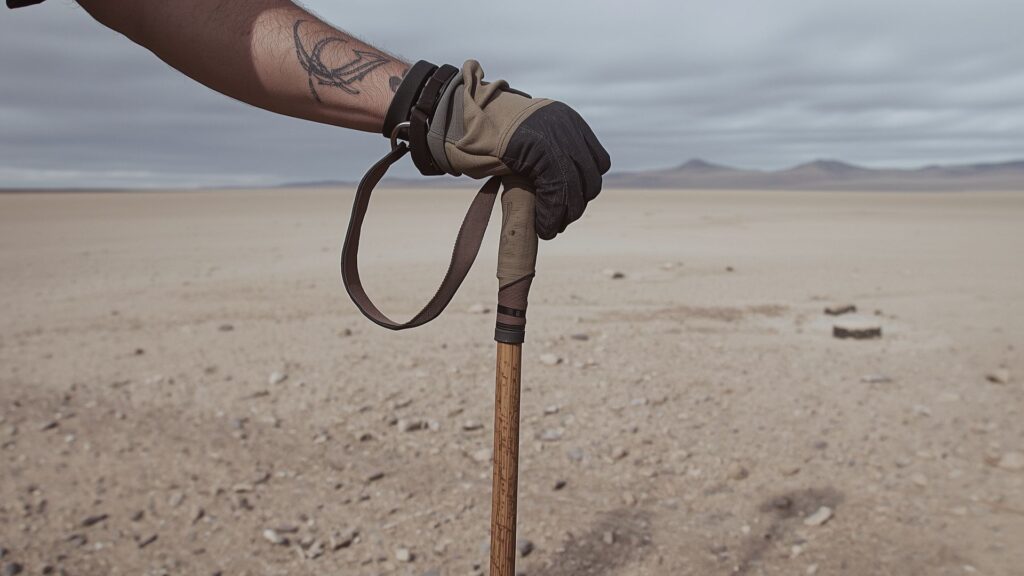
Proper Strap Setup and Usage
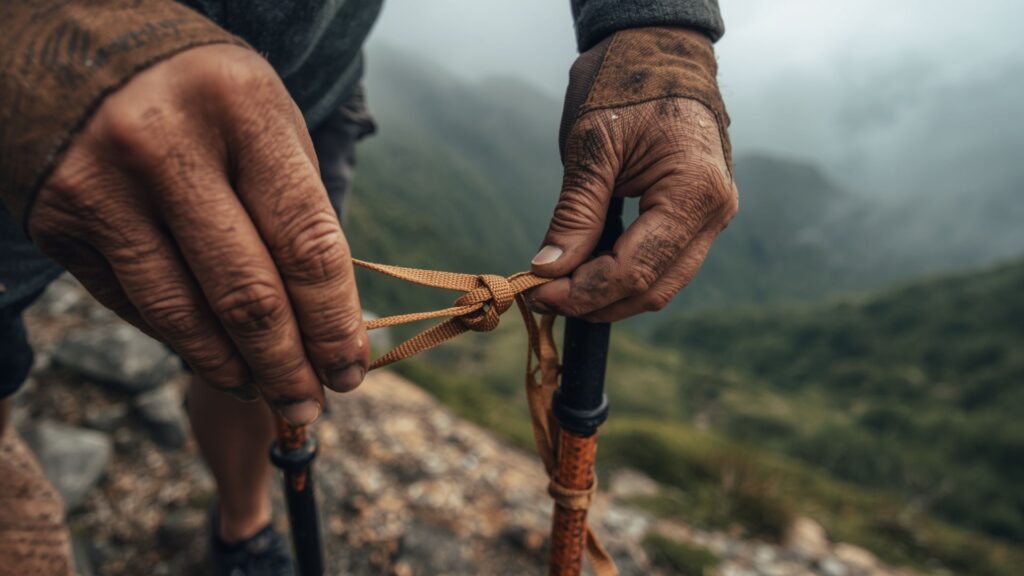
Correct strap technique reduces hand fatigue and improves pole efficiency throughout long hiking days.
When placing straps around your hands, reach up from the bottom through the straps, then grab the handle. The strap wraps around your hand and lets you lean on it. Your hand will not slide down the handle if it becomes slippery or tired during extended routes.
Some walking pole straps are adjustable. Tighten yours as far as possible while still gripping the handle comfortably. Hikers use straps this way because gripping tightly causes hands and wrists to hurt over hours of walking on routes found throughout County Kerry’s mountain terrain or during Everest Base Camp treks.
Adding Baskets to Poles
Baskets prevent poles from sinking into soft ground and snow on various terrain types.
Most walking poles include round discs that fit onto the bottom, like ski poles. These baskets stop poles from sliding into deep mud or snow. If baskets are not already on your poles, slide them onto the end and screw or click them into place. Baskets should not move once set properly.
Walking Technique with Hiking Poles on Flat Ground
Natural arm swing combined with pole placement creates efficient rhythm on level terrain.
Standing on flat ground, your arms rest at 90 degrees. Step with your left foot forward and swing your right arm forward. Swing the pole forward, plant the tip in the ground, and push off when you step past it. The main concept is pushing yourself forward with poles, one side at a time.
When encountering a large log or rock to step over, try planting both trekking poles up where you are going and pulling yourself up. Swing the pole forward for the next step as low as possible. Higher pole lifts use more energy throughout a day’s hiking.
Keep a loose grip on the handle. Using the strap correctly helps with this relaxed hold. Try holding the pole with only your thumb and index finger to practice a light squeeze.
Adjusting Pole Technique for Uphill Sections
Ascending terrain requires shorter pole length and adjusted rhythm to maintain efficiency without arm fatigue.
Shorten your poles when going uphill. Since ground in front sits higher than where your feet are, poles do not need full length. Arms tire from reaching too high on extended climbs found on Irish peaks or international mountain routes like Annapurna Base Camp.
For short uphill sections, you could ignore adjustment. An alternative to unlocking poles involves taking hands out of straps and gripping below the handle. Some walking poles feature soft grip material below the handle for this specific reason.
Descending Technique with Poles
Downhill sections require extended pole length and careful placement to protect knees and maintain control.
Opposite to uphill walking, adjust poles to be more extended when going downhill. Test that pole placement is secure before putting weight on it during descents. Descents on routes like the Devil’s Ladder on Carrauntoohil or steep sections on Camino de Santiago demand careful pole work to prevent knee strain.
Side Hilling and Contouring Techniques
Traversing slopes requires different pole lengths on uphill versus downhill sides.
Side hilling happens when you hike across a hill slope. Adjust the uphill pole to be shorter than the downhill pole to maintain level shoulders. For lesser angles, grab the pole below the handle without full adjustment. When switchbacking up a hill, switch hands with poles as you turn.
Testing Terrain with Poles
Hiking poles extend your reach to probe uncertain ground before committing body weight.
Walking poles function as arm extensions for testing conditions. You can test rocks to see if they move before stepping on them. Poles probe mud depth before committing. Hikers have experienced unpleasant surprises stepping into what appeared as several inches of mud when it was actually more than a foot deep.
Storing Poles While Hiking
Hands-free moments during hikes require secure pole storage methods to prevent loss.
Sometimes you need hands free when hiking. Climbing ladders, checking maps, or taking photographs are tough with walking poles in hands.
Sticking Poles in Ground
For taking a quick picture when ground is soft enough, stick poles in the ground. Remember to retrieve them when leaving the spot.
Attaching to Your Pack
Most backpacks feature straps on the outside for attaching gear. Strap poles to the side or back of your pack when you will not need them for a while on sections of routes found across Ireland or international destinations like Salkantay and Machu Picchu.
Caring for Your Hiking Poles
Regular maintenance extends pole lifespan and ensures reliable performance on demanding trails.
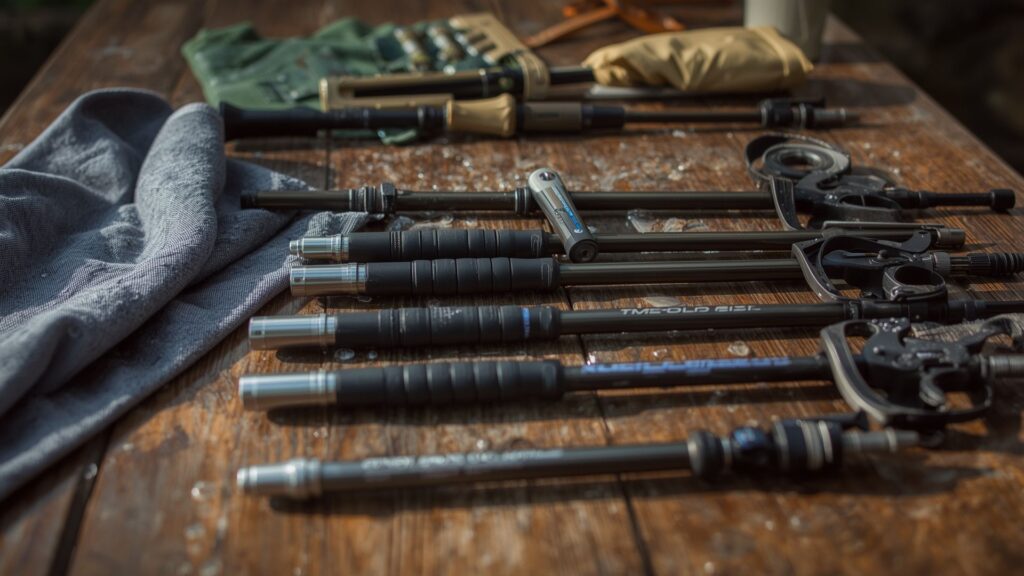
Proper care makes poles last longer. Cleaning and drying significantly improve pole lifespan. When giving them a proper deep clean, disassemble the pole, clean with a damp cloth, and dry thoroughly.
Avoid using any oil or lubricants to clean poles as locking systems may not work properly. Locks need friction to function. You can purchase new parts for poles including expanders, tips, and baskets for maintaining equipment performance.
Choosing Hiking Poles for Irish Mountain Conditions
Irish weather and terrain create specific requirements for pole selection and features.
Hiking poles suited to Irish mountains need durability for wet conditions and rocky terrain. Cork or foam grips work better than plastic in damp weather common across Kerry. Carbide or steel tips grip better on wet rock surfaces.
Adjustable poles suit Irish hiking better than fixed-length models. Terrain varies significantly on routes like those found near The Mountain Lodge in Beaufort. Three-section poles pack smaller for travel to international destinations.
Weight matters for long days on Irish mountains. Aluminium poles offer durability at reasonable weight. Carbon fibre poles weigh less but cost more and suit experienced hikers tackling challenging routes regularly.
Common Hiking Pole Mistakes to Avoid
Preventing common errors improves safety and efficiency during mountain hiking.
Hikers often make several mistakes with pole technique. Planting poles too far forward wastes energy and creates instability. Keep pole plants close to your body. Gripping too tightly causes hand fatigue within hours. Let straps carry weight rather than white-knuckling handles.
Failing to adjust pole length for terrain changes reduces effectiveness. Take time to optimise length for different sections. Neglecting basket changes between seasons reduces performance. Use larger baskets for snow and smaller ones for summer hiking.