
Learning how to pack for hiking delivers two critical advantages that transform your outdoor experience. First, you organise gear systematically, placing each item where you can find it quickly without unpacking everything on the trail. Second, you distribute weight correctly, which reduces strain on your back, shoulders, and hips during long ascents. When you pack for hiking with attention to weight placement and accessibility, you carry the same load with significantly less effort and fatigue.
Professional mountain guides teach that proper packing techniques matter as much as physical fitness for comfortable trekking. A poorly loaded 12-kilogram pack causes more discomfort than a well-organised 15-kilogram pack. The difference lies in positioning heavy items close to your spine at shoulder blade height, keeping the centre of gravity stable, and ensuring frequently needed gear stays within easy reach.
Selecting the Right Backpack Size
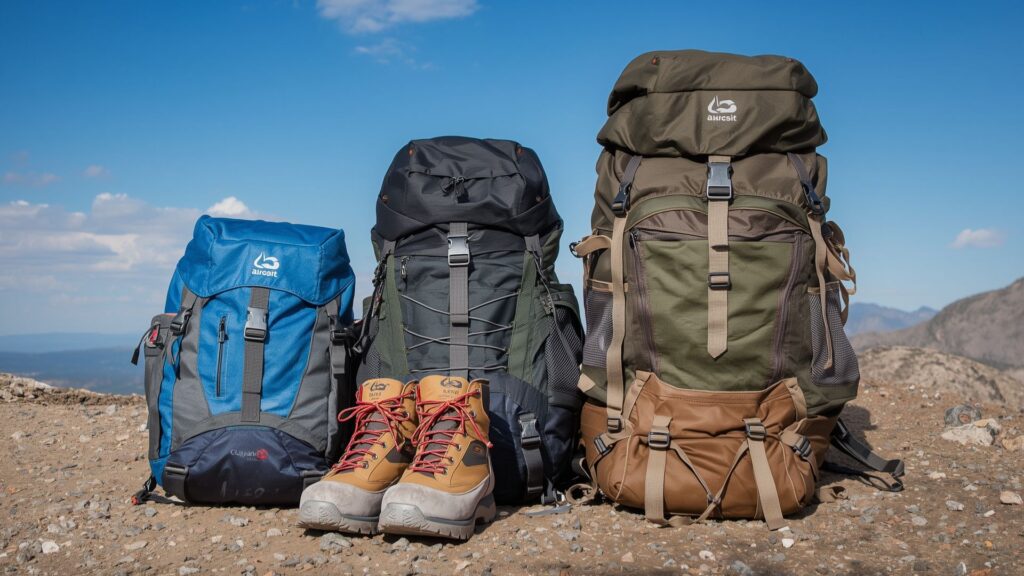
Before you pack for hiking, you need a backpack that matches your trip duration and gear requirements. Daypacks between 20 and 30 litres suit morning walks and single-day hikes where you carry water, snacks, a first-aid kit, and weather protection. These packs work well for guided Carrauntoohil hikes where you return to base the same day. Mid-size packs from 30 to 50 litres accommodate overnight trips with a sleeping bag, extra clothing, and cooking equipment. Expedition packs over 50 litres handle multi-day treks like Everest Base Camp where you carry all camping gear, food, and clothing for extended periods.
The pack must fit your torso length, not your height. Measure from the C7 vertebra at the base of your neck to the top of your hip bones. Most quality backpacks offer adjustable torso lengths and hip belts that transfer 80 percent of the weight to your legs rather than your shoulders.
Preparing Your Gear for Packing
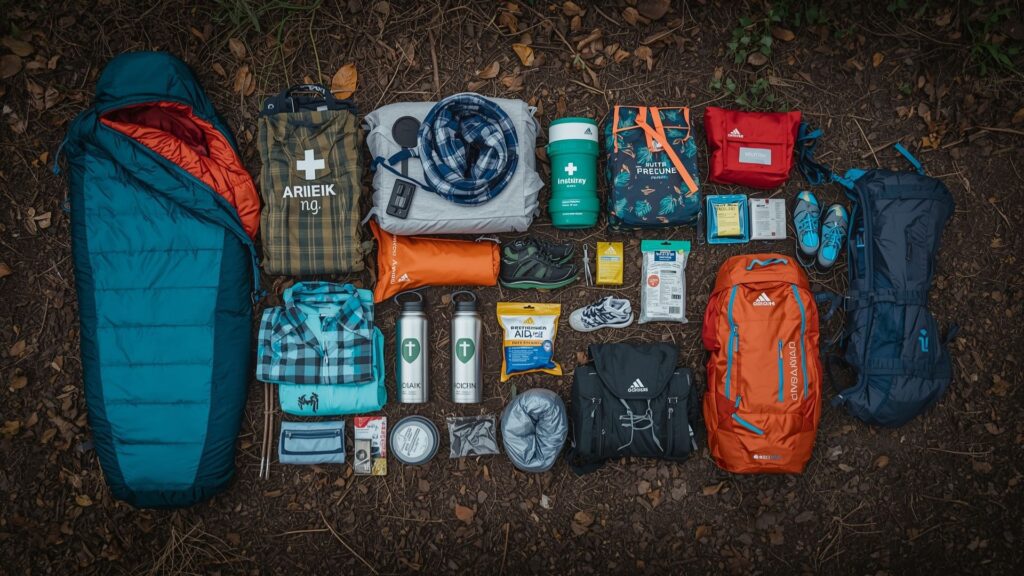
Spread everything you plan to bring on the floor in front of you before you begin. This visual inventory reveals what you actually need and exposes items you can leave behind. Many hikers overpack clothing, bringing three times more than necessary for typical conditions.
Examine your clothing selections critically. Base layers that wick moisture away from skin prove essential. A waterproof jacket and trousers protect against Irish weather that changes rapidly in the mountains. You need one spare set of clothing for emergencies, not a complete wardrobe. Kilimanjaro expeditions require careful clothing selection because you climb through five climate zones, but even there, quality matters more than quantity.
Loading the Bottom Compartment
Items at the bottom of your pack remain least accessible during the day, so reserve this space for gear you only need at camp. When you pack for hiking on multi-day trips, your sleeping bag goes in first and comes out last.
Store your sleeping bag inside a waterproof dry bag to prevent moisture absorption if you set your pack on damp ground. Place the sleeping bag at the bottom centre of your pack, directly against the back panel. Pack remaining camping gear around your sleeping bag: sleeping pad, pillowcase, and tent footprint. Large sleeping pads like the Therm-a-Rest save internal space when strapped to the pack’s exterior using compression straps.
Lightweight items fill the bottom compartment. The heaviest equipment never goes here because low-positioned weight pulls you backwards, forcing you to lean forward and straining your lower back. For day hikes where camping gear stays home, the bottom compartment holds spare clothing, extra food supplies, and items you rarely access.
Organising the Middle Section
The middle section of your backpack carries the heaviest items and determines your pack’s stability. When you pack for hiking, positioning heavy gear in this zone creates a stable centre of gravity that keeps you balanced on uneven terrain.
Place your heaviest items directly against the back panel at shoulder blade height. Food supplies, extra water bottles beyond your immediate drinking supply, camera equipment, and cooking fuel belong here. Dense items like rope, climbing hardware, or packaged meals should sit within 10 centimetres of your spine. This placement transfers weight through your hips rather than pulling you backwards.
Keep heavy gear away from the pack’s outer surface, bottom, and top sections. Weight positioned far from your back creates a pendulum effect that pulls you off balance when you move. Fill gaps between heavy items with medium-weight gear like extra clothing layers to prevent items shifting during movement.
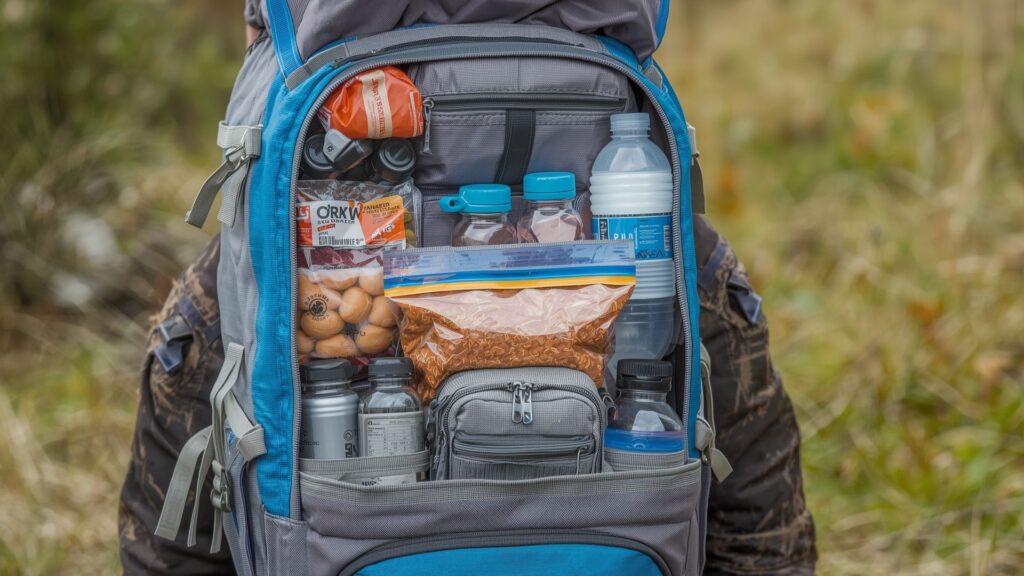
Packing the Top Section for Quick Access
The top compartment of your backpack stores items you need quickly without removing your pack or unpacking other gear. When you pack for hiking in Irish mountains where weather changes within minutes, rapid access to protective gear prevents dangerous exposure.
Rain gear goes at the very top where you can grab it within seconds. Pack small essential items in the top section: sunglasses, head torch with spare batteries, first-aid kit, compass, map, lip balm, sunscreen, hand sanitiser, and high-energy snacks. Most backpacks include a zippered pocket in the top lid for valuables like phones, keys, and wallets. Hip belt pockets on quality packs provide excellent storage for energy bars and items you consume regularly during hiking.
Attaching Equipment to the Exterior
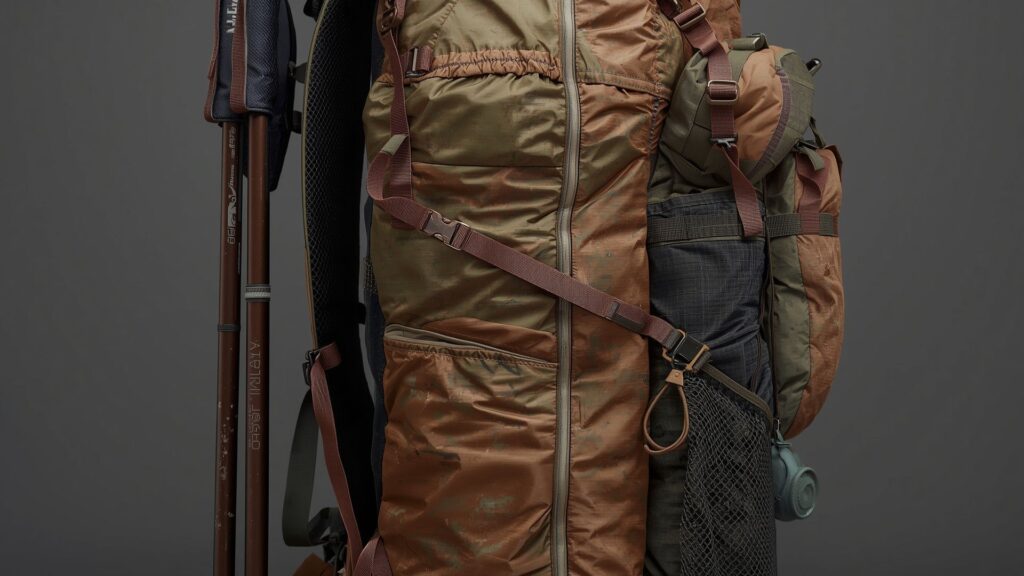
After filling your backpack’s internal compartments, some equipment works better strapped to the exterior. Most packs feature lower loops and upper compression straps that secure trekking poles vertically along the sides. Position poles with tips pointing down and handles at the top where you can grab them easily.
Ice axes mount on the pack’s front or side using dedicated ice axe loops. The pick must face inward toward the pack with the shaft running vertically. Cover the sharp pick with a rubber protector to prevent injury and fabric damage. Bulky items like sleeping pads or foam mats strap horizontally across the top or bottom of your pack.
Optimising Weight Distribution for Different Terrain
How you pack for hiking changes based on the terrain you encounter and the technical difficulty of your route. For gradual uphill trails, position heavy items high in the pack at shoulder height to keep your torso upright and maintain natural posture. The Camino de Santiago covers relatively gentle terrain where this loading method works well for multi-day trekking.
Technical terrain with scrambling requires moving weight lower in the pack to reduce your centre of gravity. Pack heavy items 10 to 15 centimetres lower than standard positioning when tackling routes like Devil’s Ladder on Carrauntoohil, which involves scrambling over loose rock. Off-trail hiking across rough ground benefits from centred weight positioned close to your spine. Expeditions to Mount Toubkal involve significant off-trail sections where stable weight distribution proves essential.
Making Efficient Use of All Available Space
Empty space inside your backpack wastes capacity and allows items to shift during movement. Stuff socks, gloves, and small clothing items inside spare shoes or boots. This protects footwear shape while utilising otherwise empty space. Push underwear and lightweight items into the gaps around your sleeping bag at the pack’s bottom.
Cooking pots offer excellent storage for small items you need at camp. Place matches, firelighters, utensils, spices, and water purification tablets inside cooking pots. Compression sacks reduce the volume of clothing and sleeping bags by 40 to 60 percent. Dry bags serve dual purposes as waterproof protection and compression containers. Different coloured dry bags help you organise categories: red for first aid, blue for electronics, green for food.
Adjusting Pack Fit and Compression

Proper pack fitting matters as much as proper packing. After you pack for hiking, spend five minutes adjusting straps to optimise comfort and weight distribution.
Start with the hip belt, which should sit on your hip bones, not your waist. Tighten it firmly so the belt carries 80 percent of the pack’s weight. Adjust shoulder straps so they follow your shoulder contours without gaps. Load lifter straps connect the top of the shoulder straps to the pack body at a 45-degree angle. Pull these straps to bring the pack’s weight closer to your shoulders and prevent it pulling you backwards.
Compression straps on the pack’s sides pull the load inward toward your body and prevent items shifting. Tighten them firmly after packing to minimise the pack’s profile and stabilise its contents. The Mountain Lodge in Beaufort provides an ideal base for training weekends where you can practice packing techniques, test your gear, and complete training walks in the MacGillycuddy’s Reeks under guidance from experienced mountain leaders.
FAQs
Your loaded backpack should weigh no more than 20 percent of your body weight for comfortable multi-day hiking. A 70-kilogram person carries a maximum of 14 kilograms safely.
Immediate drinking water belongs in external side pockets where you access it without removing your pack. Extra water supplies go in the middle section near your spine to keep weight centred.
Clothing packed in colour-coded stuff sacks stays organised, remains dry, and compresses to save space. Roll garments tightly before placing them in stuff sacks to minimise wrinkles.
Rain gear, snacks, water, sun protection, first-aid supplies, navigation tools, and your map require quick access. These items belong in top compartments, lid pockets, or hip belt pouches.
Winter packing prioritises waterproofing and insulation. Pack clothing in waterproof dry bags and position your insulated jacket where you can reach it quickly when you stop moving.
Hip belt pockets work best for small, frequently accessed items: energy gels, trail mix, glucose tablets, lip balm, and sunscreen. Avoid placing sharp objects or heavy items here.
Position heavy items at shoulder blade height close to your spine to keep weight over your hips. Adjust your hip belt to carry 80 percent of the load, relieving pressure on your shoulders.
Stuff sacks provide better waterproofing, compress more effectively, and weigh less than packing cubes while delivering similar organisation benefits for hiking.